How to Swap Bean Varieties Mid-Recipe (Without Ending Up With a Pantry Full of Half-Used Bags)
By the Grindset team · July 8, 2026 · 6 min read
The Problem With "Just Try a New Bag"
Switching espresso beans sounds simple in theory. You order something new, dump out the old, and start pulling shots. In practice, it almost always means a week of frustrating extractions, a grinder full of residual grounds from the previous coffee, and eventually a shelf lined with bags that are two-thirds empty because you gave up mid-dial-in. The waste is real, both in money and in coffee that deserved better. There is a smarter way to approach this, and it starts with understanding why beans behave so differently from one another in the first place.
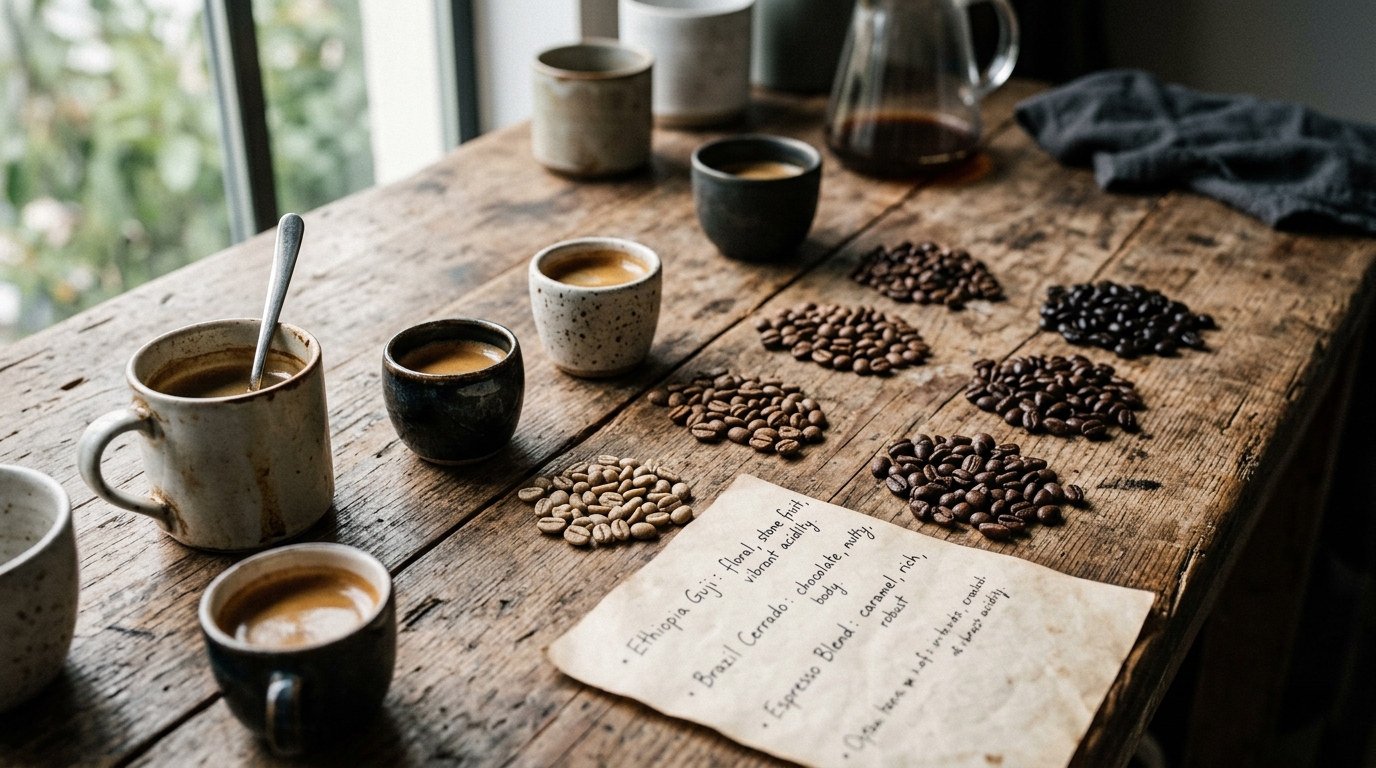
The variables that change between roasts and origins are not trivial. Bean density, which is largely a function of altitude and processing method, affects how the grinder fractures the cell structure. A high-grown Ethiopian natural and a low-grown Brazilian washed coffee will behave almost like different materials under the burrs. On top of that, roast level changes the cellular integrity of the bean: a darker roast has expanded, more brittle cells that shatter into fines more easily, while a lighter roast requires more grinding energy and produces a different particle size distribution. Switching from a medium-dark house blend to a light-roasted single origin is not a one-knick adjustment. It usually means moving your grind setting significantly finer, dropping your dose slightly, and often rethinking your water temperature by 3 to 5 degrees Fahrenheit (roughly 2 to 3 degrees Celsius).
Finish Your Bag Before You Switch (Mostly)
The simplest waste-reduction strategy is to actually use up your current bag before opening the new one, but there is a nuance here. If your beans are more than three weeks past roast and you have a fresh bag waiting, the quality trade-off of continuing to pull shots from stale coffee may not be worth it. The CO2 degassing that protects espresso from over-oxidation is largely done by week three for most roasts. At that point you are extracting flat, papery shots regardless of how well you dial in. A practical threshold: if the beans are under three weeks old, finish the bag. If they are older than that and you have fresh coffee on hand, make the switch without guilt.
When you do have leftover beans from the outgoing bag, do not just throw them away. Use them for moka pot, pour over, or French press, where the dial-in pressure is lower and stale-ish beans are more forgiving. A 15-gram dose of three-week-old espresso beans makes a perfectly acceptable 200-gram pour over. The flavor profile will be muted, but you are not wasting the coffee.
The Purge Shot Problem and How to Handle It
Your grinder retains old grounds in the burr chamber and chute, and the volume of that retention depends heavily on your grinder design. A typical single-dose grinder like a 1Zpresso or Weber Key retains under 0.2 grams. A hopper-fed commercial-style grinder can retain 2 to 5 grams or more. When you switch beans, those retained grounds are going to contaminate your first several shots with the previous coffee, which makes it nearly impossible to evaluate whether your new dial-in is actually working or whether you are tasting a blend of two different coffees.
The standard solution is a purge dose: grind through 5 to 10 grams of your new beans before pulling your first shot, discarding those grounds. For grinders with higher retention, you may need to purge more. Some people run a full 18-gram dose straight to the trash just to clear the chamber. It feels wasteful, but it is far less wasteful than spending three days pulling confused shots that taste neither like the old coffee nor the new one. Think of the purge as the cost of getting clean data from your first real shot.
Building a Switching Protocol That Actually Works
Rather than approaching each new bag as a fresh puzzle with no starting point, keep records. If you know that your last light-roasted washed Ethiopian dialed in at 18.5 grams in, 38 grams out, 27 seconds, at 200 degrees Fahrenheit (93 degrees Celsius), and your new bag is also a light-roasted washed Ethiopian from a similar altitude, that recipe is your starting point. You will likely need minor adjustments, but you are not starting from zero. This is where a shot log earns its keep.
When you switch to a genuinely different coffee category, a darker roast, a different process, or a different origin profile, use this framework as a starting point for your first shot:
- Set your dose first. For a standard 58mm basket, 17 to 18 grams is a reliable middle ground for most roast levels.
- Target a 1:2 ratio as your baseline output. If you dose 18 grams, pull to 36 grams.
- For lighter roasts, start at 200 to 203 degrees Fahrenheit (93 to 95 degrees Celsius). For darker roasts, drop to 196 to 198 degrees Fahrenheit (91 to 92 degrees Celsius).
- Aim for a total brew time of 25 to 30 seconds. If you are outside that window, adjust grind size before anything else.
The key is to change one variable at a time. This is not pedantry. It is the only way to know what is actually causing the shot to taste the way it does. If you adjust both grind size and dose simultaneously and the shot improves, you have no idea which change did the work, which means you cannot reproduce it reliably or build on it for future bags.
Managing Multiple Open Bags
Sometimes you genuinely need two bags open at once, whether you are running a decaf alongside a regular, or testing a new roaster while finishing a familiar one. In that case, storage discipline matters more than people realize. Oxidation is the primary enemy of open beans: the lipids in coffee oxidize when exposed to air, which produces rancid, stale flavors within days of opening. Valve bags with a one-way CO2 release are fine for the first week, but once you have broken the seal repeatedly, the valve loses its effectiveness.
The best solution for partial bags is a small vacuum canister, or at minimum, a mason jar pressed full with the bag folded tightly around the beans to exclude as much air as possible. Do not refrigerate or freeze beans you are actively using. The condensation cycle from daily removal and return to a cold environment introduces moisture into the beans, which accelerates staling faster than simply leaving them at room temperature in a sealed container. Freeze only whole, unopened bags you plan to rest for more than two weeks.
Keep the Data, Not Just the Coffee
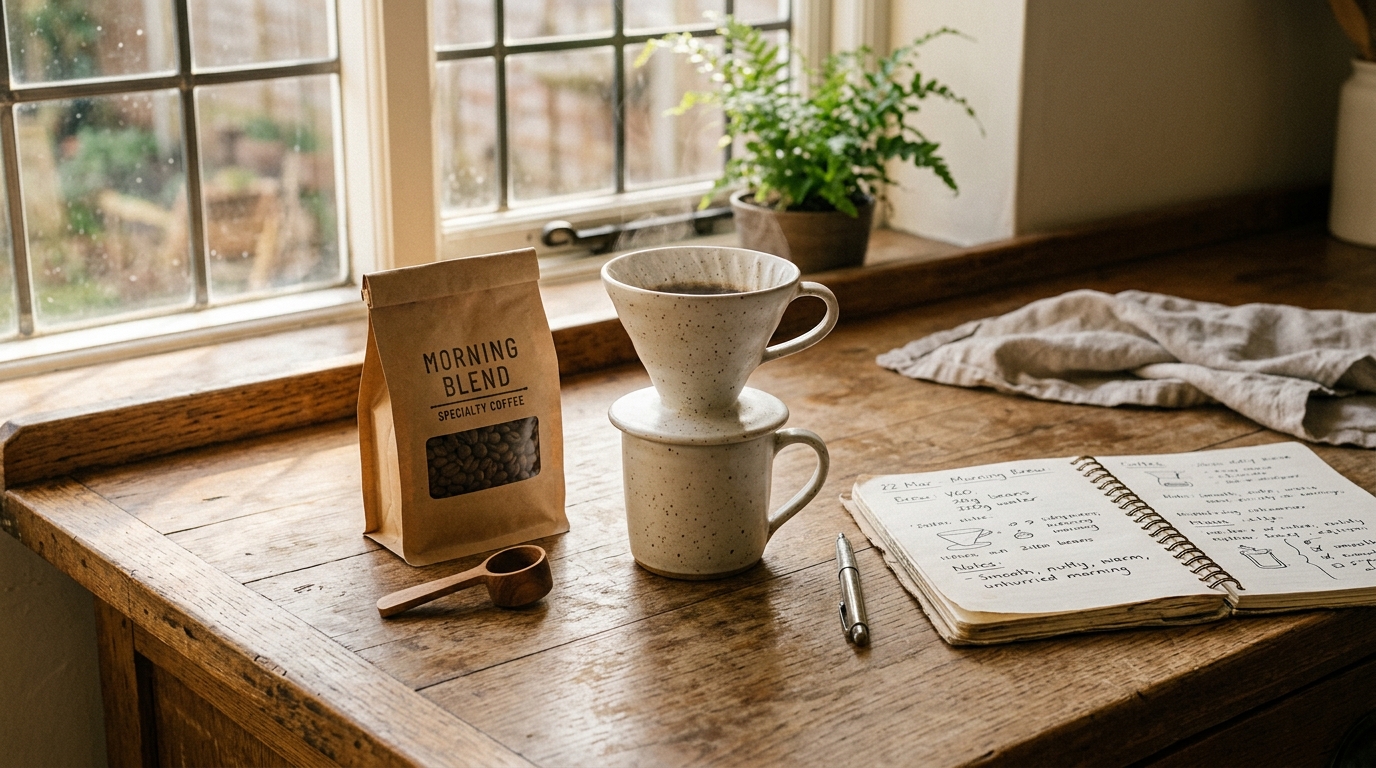
The meta-skill underneath all of this is record-keeping. If you log your recipes with enough detail, each new bag of beans becomes a smaller problem than the last one. You build a reference library of how different roast levels and origins tend to behave, what temperatures work for which processing methods, and how your specific grinder responds to density changes. Over time, your first shot on a new bag stops being a blind guess and starts being an informed estimate.
If you want a structured place to track that kind of data, grindset.cafe is built around exactly that workflow. But even a notes app with consistent fields for dose, output, time, temperature, and tasting notes will serve you better than pulling shots from memory. The beans change every few weeks. Your knowledge about how to handle them should compound.