How to Brew Espresso-Style Coffee with an AeroPress: A Step-by-Step Recipe and Practical Tips
By the Grindset team · March 30, 2026 · 6 min read
What "Espresso-Style" Actually Means for AeroPress
Let's be precise about something before we get into the recipe: an AeroPress cannot produce true espresso. Espresso is defined by pressure, specifically 9 bars of pressure forcing hot water through a compacted puck of finely ground coffee. An AeroPress, even with a good hard press, generates somewhere between 0.35 and 0.75 bars. That's a meaningful physical difference, and it shows up in the cup. You won't get the same emulsified oils, the same viscosity, or a proper crema from an AeroPress. Anyone telling you otherwise is being loose with the definition.
What you can get is something genuinely useful: a concentrated, full-bodied brew with low water volume that functions like espresso in drinks. It pulls enough soluble material from the coffee to hold up under milk, stand in for a shot in an Americano, or drink straight as a small, punchy cup. That's the actual goal here, and it's worth pursuing on its own merits rather than pretending the result is something it isn't.
Equipment and Coffee Selection
Grind quality matters more here than in almost any other brew method. Because you're working with a fine grind, high water temperature, and a short brew time, any inconsistency in particle size gets amplified quickly. Fines cause over-extraction and bitterness; large boulders leave you with a weak, underdeveloped cup. A quality burr grinder, whether flat or conical, is worth the investment if you're serious about this. Blade grinders produce too much variance to dial in reliably at espresso-range grind settings.
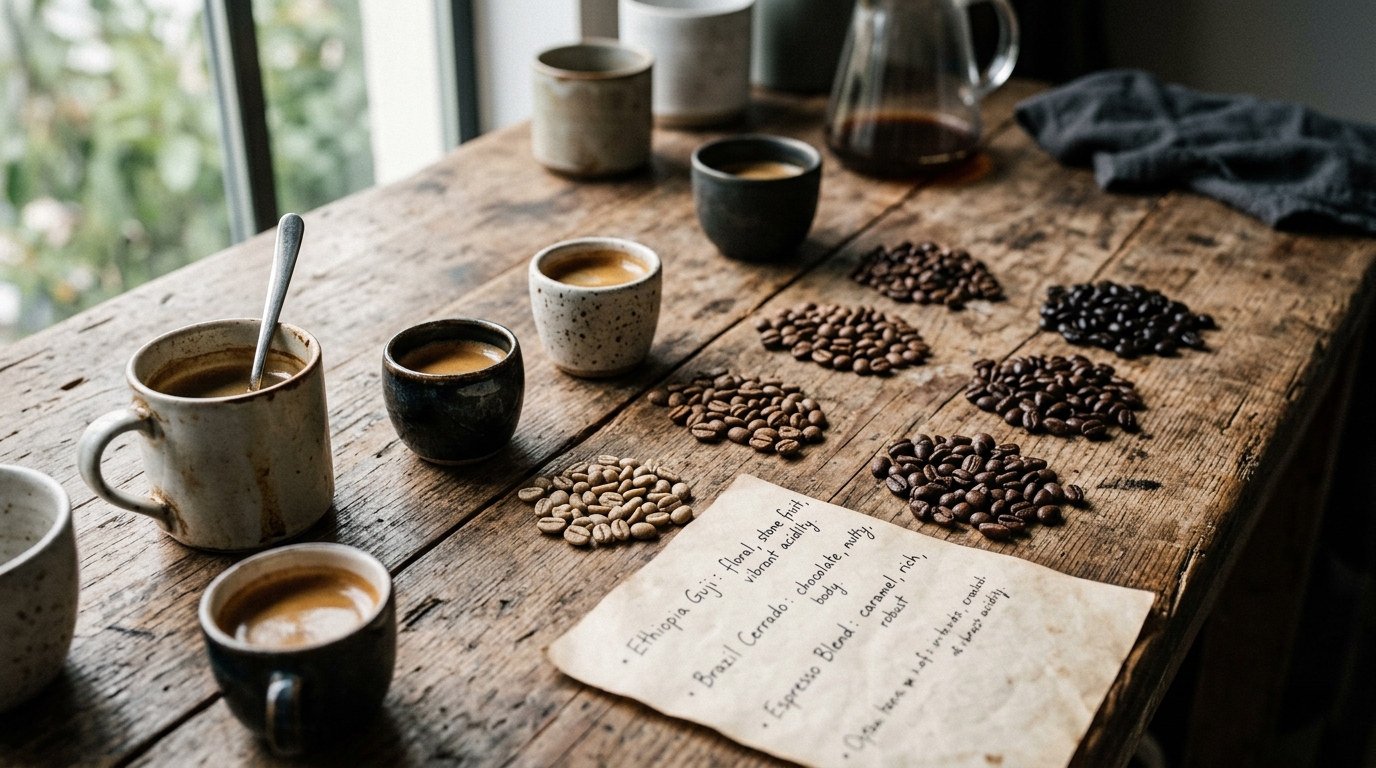
For the coffee itself, choose a roast that suits what you want from the cup. Medium to medium-dark roasts work well for espresso-style brewing because their solubility is higher and their flavor compounds are more developed, which means you extract more in less time. Light roasts can absolutely work, but they require hotter water and often a finer grind to hit the same extraction yield, and the resulting cup will be brighter and more acidic. That's not a flaw if it's what you're after.
The Recipe
This recipe is built around a 1:6 ratio, which sits comfortably in the concentrated range without being so thick that it tastes muddy or astringent. You can adjust from here based on your specific coffee and preference.
- Coffee dose: 18 grams, ground fine (finer than pour-over, coarser than true espresso, roughly the texture of table salt)
- Water volume: 110 grams at 200°F / 93°C
- Brew time: 90 seconds total before pressing
- Press duration: 20 to 30 seconds, slow and controlled
- Orientation: Inverted method (explained below)
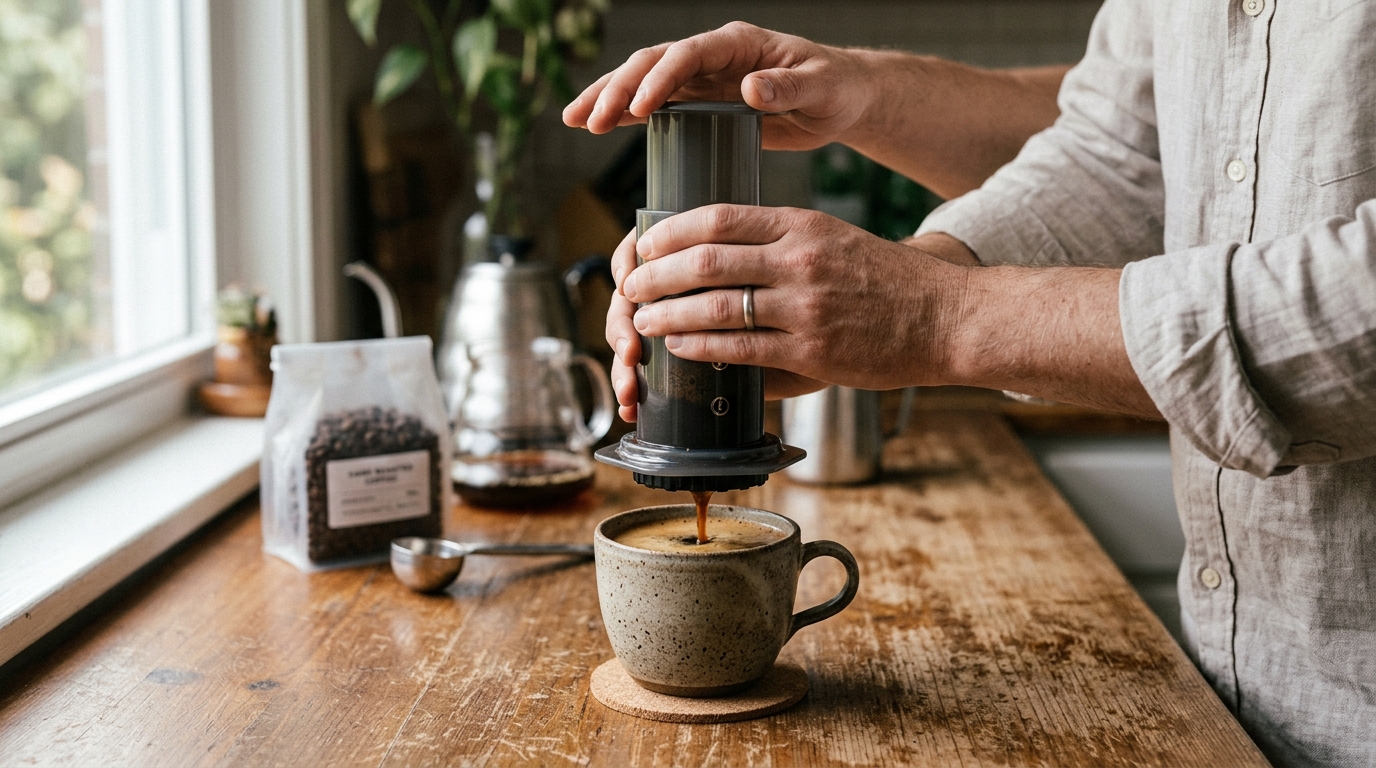
Start by rinsing your paper filter with hot water and placing it in the cap. If you're using a metal filter, skip the rinse but wipe it dry. Preheat the AeroPress chamber by running hot water through it. This step matters because a cold chamber will drop your brew temperature by several degrees at the start of contact, which skews your extraction toward the sour and underdeveloped end. Add your 18 grams of ground coffee to the inverted AeroPress, then pour your 110 grams of water in about 20 seconds, making sure to saturate all the grounds evenly. Stir three times with the AeroPress paddle or a spoon, just enough to ensure even saturation without agitating too aggressively.
Let it brew for 70 seconds, then attach the cap with the wet filter, flip it carefully onto your cup, and press slowly over 20 to 30 seconds. Stop pressing as soon as you hear the first hiss of air coming through; that sound means you've pushed past the coffee bed and you're pulling through the dregs, which will add bitterness to the cup.
Why the Inverted Method Works Better Here
The standard AeroPress orientation allows water to drip through the filter throughout the brew, which means you're not controlling the contact time accurately. For a normal filter coffee, that's fine. For a concentrated brew where you're trying to extract a lot from a small amount of water in a short window, you want total immersion with no bypass. The inverted method seals the bottom of the chamber until you're ready to flip and press, giving you clean, consistent contact time. The tradeoff is that flipping a full AeroPress requires some care, but after a few tries it becomes second nature.
Dialing In: What to Adjust and When
Espresso-style AeroPress brewing has fewer variables than pulling shots on a machine, but the adjustments follow the same logic. If your cup tastes sour, thin, or sharp, you're under-extracting. Grind finer, increase your water temperature toward 205°F / 96°C, or extend your brew time by 15 to 20 seconds. If it tastes bitter, dry, or hollow, you're over-extracting. Grind coarser, drop the temperature slightly, or shorten your steep time.
One variable that gets overlooked is press speed. Pressing too hard and fast increases pressure slightly but, more importantly, it forces water through the grounds faster than they can give up their soluble compounds evenly. A slow, steady press keeps flow rate consistent and gives you more control over the final seconds of extraction. Think of the press as the last stage of your brew, not just a mechanical action to finish the job.
Water quality also has real impact at this concentration. Mineral content affects extraction efficiency because magnesium and calcium ions bind to certain flavor compounds and carry them into solution. Most municipal tap water is fine, but if yours is very hard (above 150 ppm) or heavily chlorinated, filtered water will noticeably clean up the cup. Distilled water, on the other hand, under-extracts because it lacks the minerals that facilitate dissolution.
Using the Concentrate in Drinks
Because this brew comes out at roughly 110 milliliters of concentrate, it's well-suited for milk drinks. Add 4 to 6 ounces of steamed milk and you have something close to a latte. Dilute with 100 to 150 milliliters of hot water and it functions as an Americano. Over ice, the concentrate holds up well because the cold dilution balances the strength rather than washing it out.
If you want something even more concentrated, you can push the dose to 20 grams and reduce the water to 90 grams, which brings you to a 1:4.5 ratio. At that point you're extracting aggressively and the margin for error narrows, but the resulting liquid is thick and intense enough to pull significant espresso-style character.
Tracking Your Brews
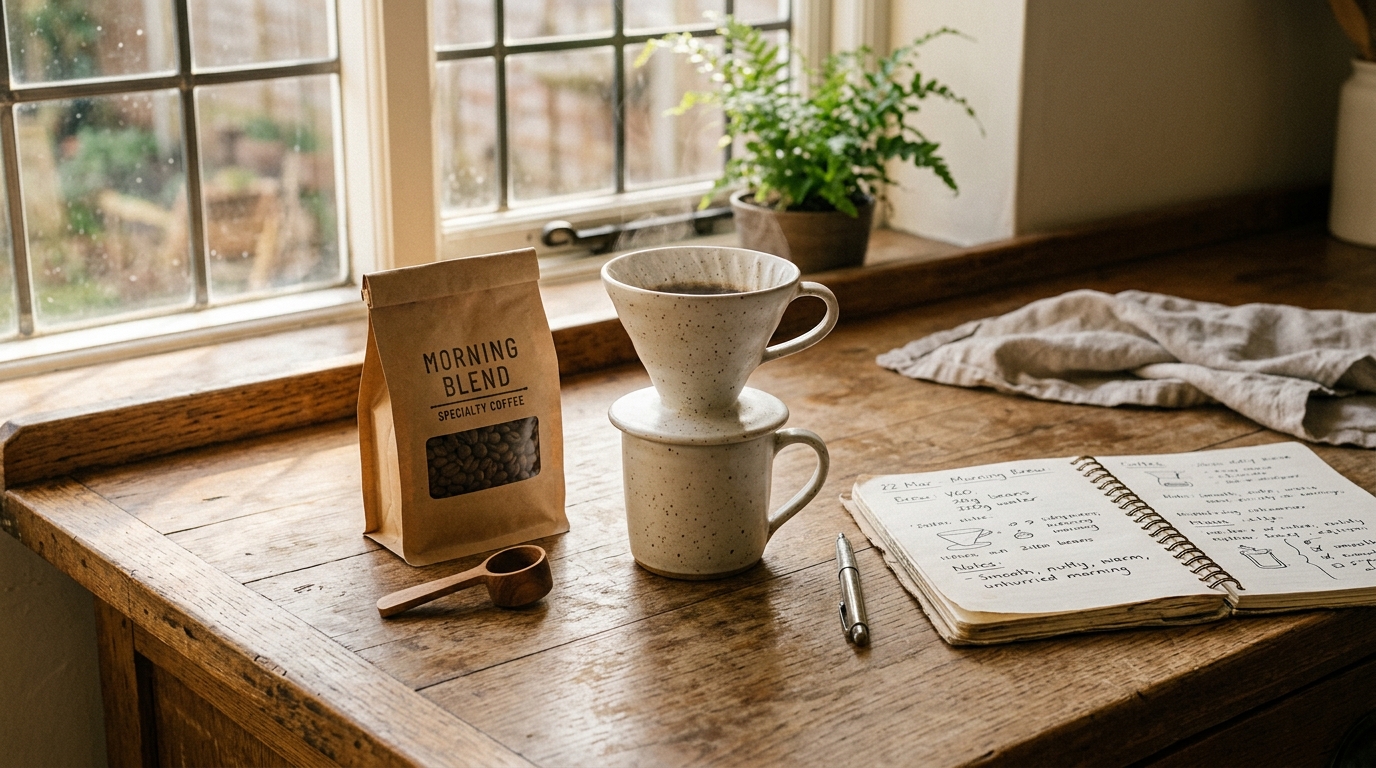
The thing that separates a repeatable recipe from a lucky guess is consistent record-keeping. Once you find a combination of grind setting, dose, water temperature, and time that works on your specific coffee, write it down. I built grindset.cafe partly because I was tired of trying to reconstruct successful brews from memory. Even small changes like a new bag of the same coffee from the same roaster can shift the extraction behavior enough to require adjustment, and knowing your baseline makes that process much faster.
The AeroPress has earned its reputation for flexibility precisely because it responds well to this kind of systematic experimentation. Start with the recipe above, taste critically, and adjust one variable at a time. The feedback loop is fast and the stakes per brew are low. That's a good environment for learning what you actually prefer in a cup.