How to Use the Blooming Espresso Technique to Improve Extraction and Flavor Clarity
By the Grindset team · June 3, 2026 · 6 min read
What Blooming Espresso Actually Is
The blooming espresso technique, sometimes called a pre-infusion pause or a stop-and-go extraction, involves starting your shot, allowing a small amount of water to saturate the puck, then pausing the pump entirely for a set period before resuming the extraction to completion. It borrows its logic directly from pour-over blooming, where hot water is added to ground coffee and allowed to sit for 30 to 45 seconds before the main pour begins. The goal in both cases is the same: let trapped carbon dioxide escape from the coffee grounds before the main extraction begins, so water can make more even, unobstructed contact with the soluble material inside each particle.
This is not the same as standard pre-infusion, which is worth clarifying upfront because the two terms get conflated constantly. Conventional pre-infusion uses low pressure, typically 1 to 3 bar, to slowly wet the puck before ramping up to full 9 bar extraction pressure. Blooming espresso introduces full or near-full pressure for a few seconds, then cuts the pump completely, creating a true rest phase. The puck sits saturated and pressurized to some degree, then relaxes before the extraction continues. That distinction changes the fluid dynamics inside the puck in ways that matter.
The Physics Behind the Pause
Fresh coffee, particularly anything roasted within the past two to three weeks, is loaded with carbon dioxide trapped in the cellular structure of the bean. When water contacts ground coffee under pressure, that CO2 wants to escape rapidly. The problem is that escaping gas creates turbulence and uneven flow paths through the puck. Water follows the path of least resistance, and a puck venting CO2 is essentially riddled with preferential channels where water races through without fully contacting the surrounding coffee particles. The result is uneven extraction: some areas over-extract while others barely contribute to the cup.
By allowing a pause after initial saturation, you give the CO2 a chance to outgas from the puck in a controlled way rather than during the extraction itself. When the pump resumes, the puck is more homogenously saturated and the gas channels have largely closed. Water distributes more evenly across the bed, extraction becomes more uniform, and you get better representation of the coffee's actual flavor compounds rather than a skewed profile driven by channeling artifacts.
There is also a thermal component. The pause allows heat to distribute more evenly through the puck mass. A standard shot moves so quickly that the outer edges of the puck, in contact with the portafilter basket walls, can lag a few degrees behind the center mass. A brief rest period lets that temperature equilibrate, which matters because extraction yield and the specific compounds that dissolve are temperature-sensitive. Even a 2 to 3 degree Fahrenheit difference (roughly 1 to 2 degrees Celsius) across the puck can produce measurable variation in extraction uniformity.
How to Actually Execute It
The technique is straightforward on machines with sufficient pump control, though your equipment options will determine how precisely you can implement it. Here is the basic sequence:
- Prepare your puck as normal. Distribution and tamping matter just as much here as in any other method.
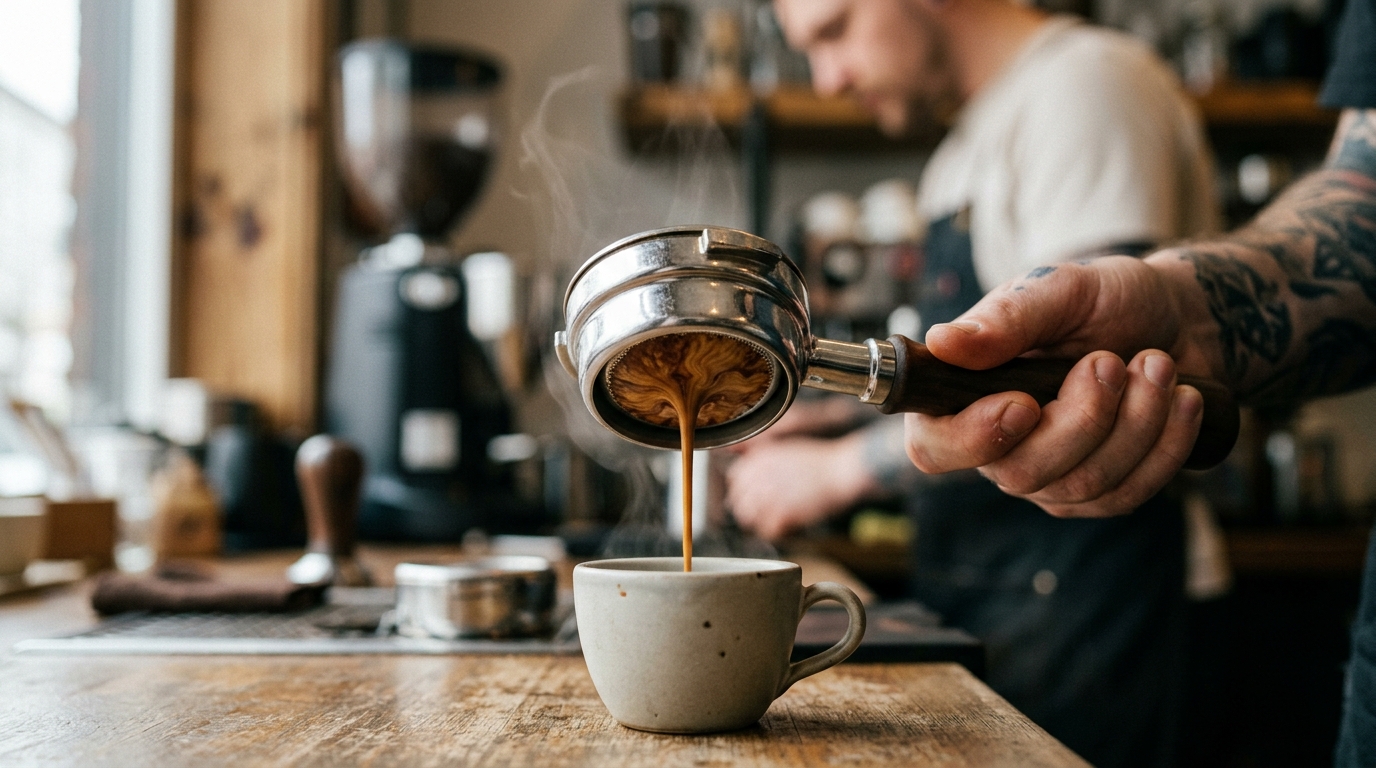
- Start your shot and allow 5 to 10 grams of water into the puck. On most setups, this corresponds to roughly 3 to 6 seconds of pump run time.
- Stop the pump completely. Let the puck rest for 20 to 45 seconds. You will likely see a small amount of liquid weep from the basket during this phase.
- Resume the pump and pull the remainder of the shot to your target weight and ratio.
The total brew time from first pump activation to final weight should still land in a reasonable extraction window. If your target is a 1:2 ratio, say 18 grams in and 36 grams out, your active extraction time after the pause should be in the 25 to 35 second range depending on your grind and roast level. The pause time does not count as extraction time in the traditional sense, though some dissolved material will continue to move during the rest phase.
Grind adjustment is often necessary when you first try this. Because the pause allows more even water distribution and slightly higher extraction efficiency, you may find your previous grind setting produces a shot that tastes over-extracted or bitter. Coarsening the grind by a small increment compensates for the improved extraction and keeps the flavor balance where you want it.
What You Should Expect to Taste
The most consistent result people report, and what I have experienced repeatedly, is improved flavor clarity. Individual flavor notes that were previously muddled or sitting in the background become more distinct and forward. A fruit-forward Ethiopian that was coming across as generically acidic will start showing actual differentiation, something closer to stone fruit or citrus rather than just "bright." This clarity comes from more even extraction across the puck, which produces a more representative extraction of all soluble compounds rather than a skewed draw from over-extracted channels.
Sweetness perception typically improves as well. Channeling tends to produce elevated bitterness and harshness that masks sweetness, even when the overall extraction percentage looks reasonable on a refractometer. Eliminating channeling lets the natural sugars and Maillard reaction compounds contribute to the cup without bitter compounds drowning them out.
The technique tends to be especially valuable with fresh, lightly roasted coffee, precisely the beans most prone to CO2-related channeling. With darker roasts that have had time to degas, the effect is present but less dramatic. If you are pulling shots within 7 to 14 days of roast on a light coffee, the difference between a bloomed and non-bloomed shot can be striking.
Equipment Considerations and Limitations
Any espresso machine where you can manually stop and start the pump mid-shot works for this technique. That includes most prosumer machines with a physical brew switch or paddle. Machines with only programmable volumetric buttons require programming workarounds, and some fully automatic machines make this impractical entirely. Lever machines, particularly spring-lever designs, behave differently since pressure is determined by the spring rather than an electric pump, but a similar pause can be approximated by pulling and holding the lever in a partial position.
One limitation worth acknowledging: blooming adds time to your workflow and requires active attention. In a multi-shot session this is manageable, but it is less convenient than a single programmed button press. If you are dialing in a new coffee and want to track variables methodically, tools like the shot timer and ratio logging at grindset.cafe help you keep the pause duration and extraction time consistent across attempts, which matters when you are trying to isolate what is actually changing.
The technique is not a fix for poor puck preparation. If your distribution is uneven before the water touches the coffee, no amount of pausing will fully correct the channeling that results. Think of blooming as a tool that maximizes the potential of an already well-prepared puck, not a shortcut around the fundamentals.