How to Cup Coffee at Home: A Step-by-Step Guide to Tasting Like a Pro
By the Grindset team · April 10, 2026 · 6 min read
Why Cupping Belongs in Your Home Routine
Cupping is the standardized tasting protocol used by roasters, green buyers, and competition judges to evaluate coffee with as little interference as possible. No espresso machine, no pressure variables, no milk. Just ground coffee, hot water, and your senses doing the actual work. Most home brewers never try it because it feels like something that happens in a lab or a specialty roaster's back room, but the reality is that everything you need costs almost nothing and the technique takes about twenty minutes to learn. Once you start cupping regularly, your ability to identify flavors, diagnose extraction problems, and choose coffees you'll actually enjoy improves faster than almost any other practice.
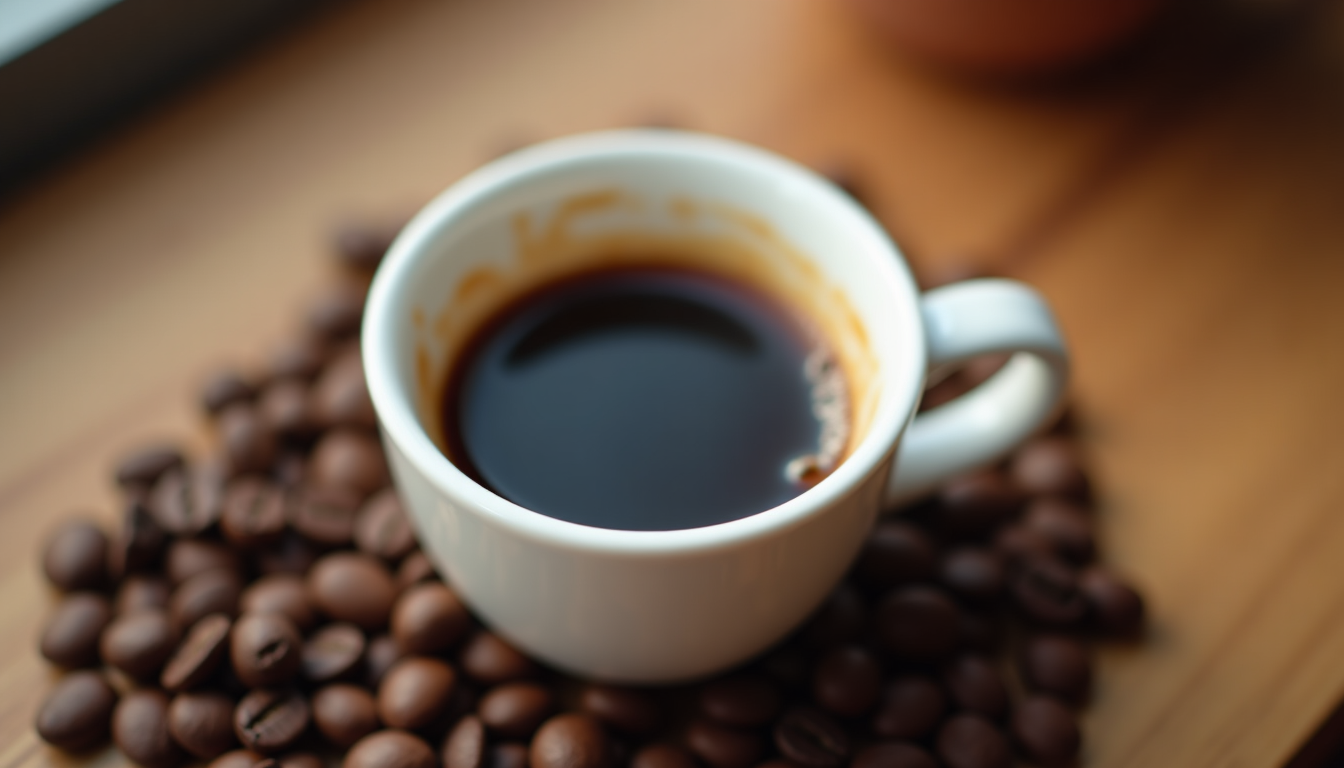
The reason cupping produces such useful information is that it strips away equipment variables. When you're pulling espresso or dialing in a pour-over, you're tasting the coffee plus your grinder's performance, your water temperature stability, your pouring technique, and a dozen other factors. Cupping controls for all of that. The brew method is identical across every cup, so the only thing you're actually comparing is the coffee itself.
What You Need
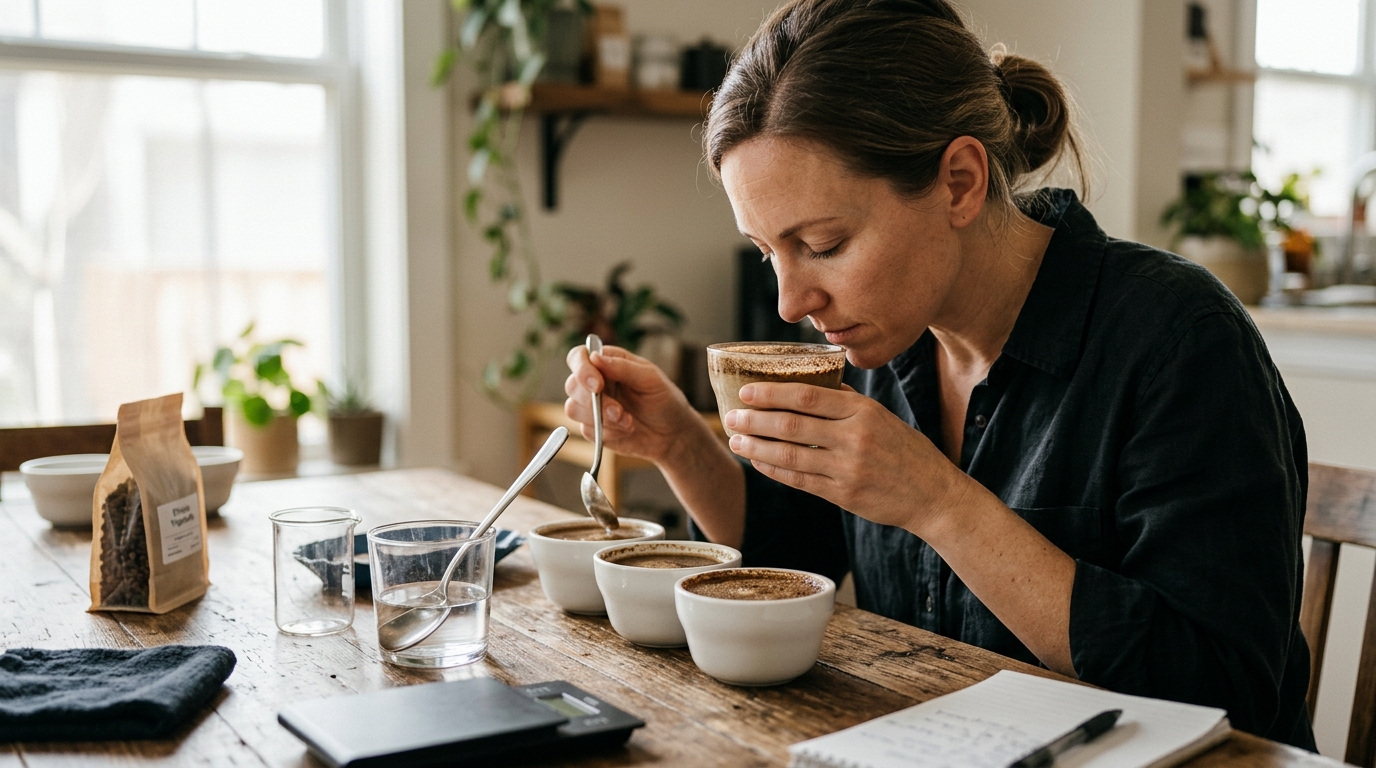
The equipment list is short. You need a cupping bowl or any wide, heavy ceramic cup that holds around 200-250ml. You need a kitchen scale accurate to 0.1g, a burr grinder, a kettle, a timer, and two spoons (one for skimming, one for tasting). That's it. Professional cupping sets use standardized 207ml tempered glass bowls from companies like Kruve or Acaia-adjacent suppliers, but a wide coffee mug works fine when you're starting out.
For water, you want something clean and neutral. Heavily chlorinated tap water or very soft water will skew your results. Filtered water in the 100-150ppm range is close to ideal. Temperature should be between 200°F and 205°F (93°C to 96°C), which means bringing your kettle to a boil and letting it sit for about 30 to 45 seconds at sea level.

The Grind and the Ratio
The SCA cupping protocol specifies a ratio of 8.25g of coffee per 150ml of water, which works out to roughly 1:18 by weight. This is slightly stronger than many people brew at home, and that's by design. The higher concentration makes aromatic compounds and flavor defects more perceptible, which is exactly what you want when you're trying to evaluate a coffee rather than just enjoy a cup. For home cupping you can round to 11g per 200ml without meaningfully distorting your results.
Grind size should be medium-coarse, similar to what you'd use for a French press but a touch finer. The SCA specifies that 70-75% of grounds should pass through a 20-mesh screen, but at home you're not sieving your grinds. Aim for something that looks slightly coarser than drip coffee and move from there. Grind fresh, right before you add the water, and grind directly into your cupping bowls.
The Step-by-Step Process
- Smell the dry grounds. Before water touches anything, lean in and inhale. Dry fragrance is one of the evaluation categories for a reason. You'll often notice top notes here that disappear once brewing begins.
- Pour and start your timer. Pour water that's around 200°F to 205°F (93°C to 96°C) in a slow, circular motion, wetting all the grounds evenly. Start your timer the moment you begin pouring. Fill each bowl to the same level.
- Wait 4 minutes without touching the cups. The grounds will form a crust on the surface. Leave it alone. The steep time is standardized so that every coffee brews for the same duration.
- Break the crust at 4 minutes. Use your spoon to push through the crust with three gentle forward strokes, then pull it back toward you. As you do this, lean in close. This is the aromatic peak of the session. The release of CO2 and volatile compounds in that moment is intense and informative.
- Skim the foam and grounds. Use two spoons to scoop off the floating grounds and foam. Work quickly but carefully so you don't disturb the liquid too much.
- Wait for the cups to cool to about 160°F (71°C), then start tasting. Slurp aggressively from your spoon. This aerosolizes the coffee across your palate and retronasal passage simultaneously, which is why professional tasters make that loud slurping sound. It's not a performance, it physically distributes the liquid more evenly across your taste receptors.
- Taste again as it cools further. Revisit each cup as the temperature drops through 140°F (60°C) and again near 100°F (38°C). Many flavor attributes change dramatically with temperature. Coffees that taste flat at 160°F can reveal bright fruit acidity at 120°F. Some defects only become obvious once the cup is nearly room temperature.
What You're Actually Evaluating
There are a few core attributes worth paying attention to as a home cupper. Aroma tells you about volatile compounds, roast level, and freshness. Flavor is what you perceive during the sip itself, the combination of taste and retronasal smell. Aftertaste is how long and how pleasantly flavors linger after swallowing. Acidity refers to the bright, lively quality often described as citric or malic, not sourness from underextraction. Body is the physical weight and texture of the liquid in your mouth, driven largely by dissolved solids and lipids that passed through the grounds during steeping.
You don't need to score these numerically the way a Q grader would. Write down impressions in plain language. "Dark cherry, medium body, citric finish that fades quickly" is more useful than a number if you're building a personal reference library of what you like. Over time those notes accumulate into a meaningful map of your taste preferences.
Cupping Multiple Coffees Side by Side
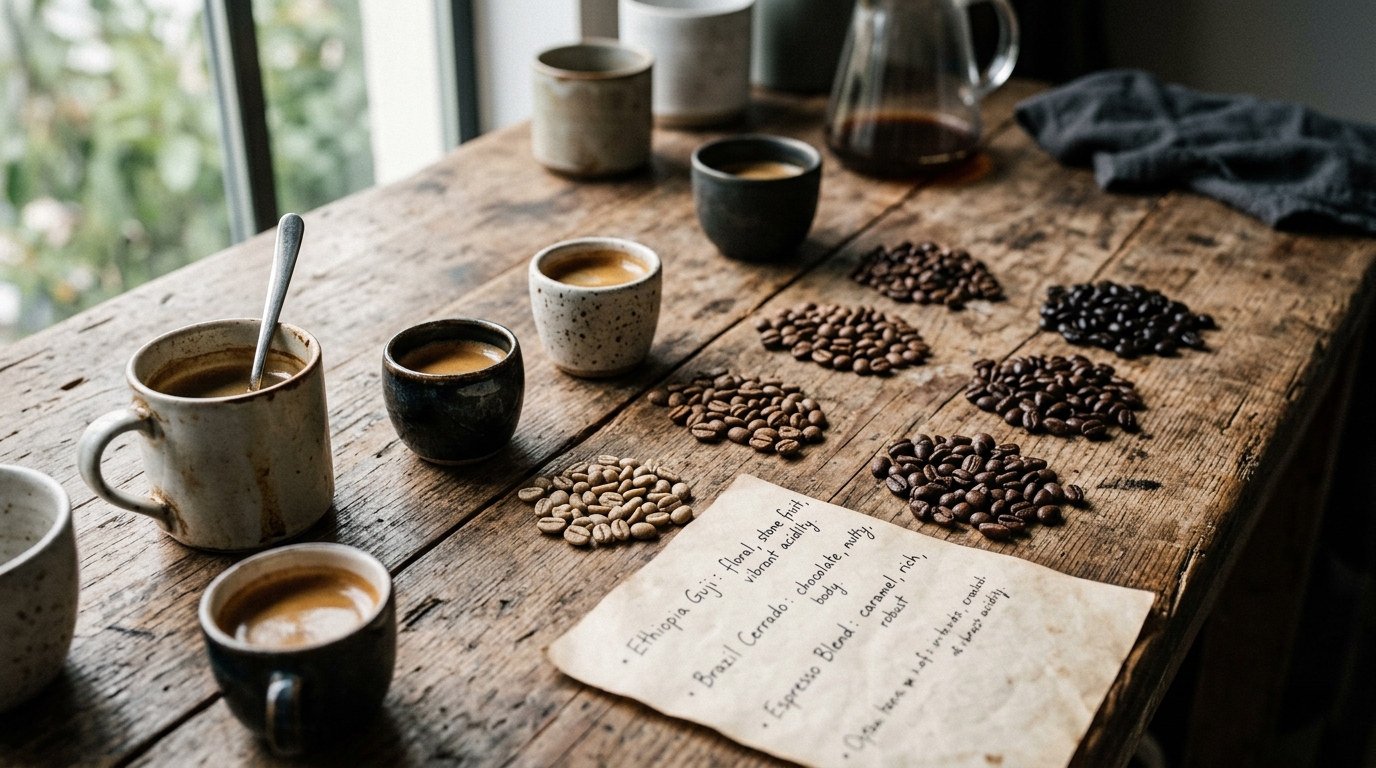
This is where home cupping becomes genuinely powerful. Tasting a single coffee in isolation is useful, but tasting three or four coffees simultaneously teaches you to recognize differences that would be invisible if you brewed them on separate mornings. Prepare each coffee with the same ratio, the same water temperature, the same grind setting (adjusted only for bean density if needed), and taste them in the same sequence each round. Your short-term sensory memory is better than you might think, and the contrast between cups sharpens your perception considerably.
A practical way to start is to cup the same coffee from two different roasters, or the same coffee at two different roast levels if you can find it. The differences you'll find often reframe what you thought you knew about that origin or variety.
Building the Habit
The biggest mistake people make with home cupping is doing it once and filing it away as something they tried. The value compounds with repetition. Your flavor vocabulary expands, your sensory memory gets more precise, and you start building real intuitions about what makes a coffee work or fall flat. I built a simple logging system into grindset.cafe specifically because I found myself losing track of notes scribbled on napkins and forgotten in notebooks.
You don't need to cup every single coffee you buy. Even once or twice a month, done carefully and with a few cups side by side, will change how you think about what's in your cup. The protocol takes some of the guesswork out of preference and replaces it with observation. That shift in approach is worth more than any new piece of equipment you could buy.