How to Clean Your Coffee Grinder and Why Retention Is Quietly Ruining Your Espresso
By the Grindset team · June 22, 2026 · 6 min read
The Grime You Can't Taste (Until You Can)
Most espresso troubleshooting conversations focus on grind size, dose, and water temperature. Rarely does anyone point the finger at the grinder itself, not the settings, but the physical state of the burrs and the coffee sitting stale inside the grinding chamber. This is a mistake. A grinder that hasn't been cleaned in six months is quietly adulterating every shot you pull, and if your espresso has started tasting flat, muted, or oddly rancid at the finish, your grinder is the first place worth investigating.
Coffee contains roughly 11 to 17 percent oil by dry weight, and those oils are volatile. When ground coffee sticks to burrs, chute walls, and the exit throat of a grinder, those oils oxidize. Oxidized coffee fat doesn't just taste stale in isolation. It actively contaminates fresh grinds passing through, contributing bitter, papery, or even soapy notes that no amount of dialing in will fix. You're essentially seasoning every dose with old rancid material, the way a cast iron pan holds onto flavors if never properly cleaned. The difference is that with cast iron, that's usually a good thing.
What Retention Actually Means
Grind retention refers to the amount of ground coffee that stays inside your grinder between doses. Every grinder retains some amount of coffee. The question is how much, and how long it stays there. A high-retention grinder might hold 1 to 3 grams of ground coffee inside the burr chamber and chute after grinding. That coffee sits there, exposed to air and ambient heat from the motor, until your next grind cycle flushes it through.
In a home setting where you might pull two shots in the morning and nothing until tomorrow, that retained coffee is sitting inside your grinder for 20-plus hours. At room temperature, coffee staling accelerates significantly after grinding, because you've massively increased the surface area exposed to oxygen. Ground coffee can go noticeably stale within 15 to 30 minutes of grinding, depending on roast level and humidity. What you think is a fresh dose is actually a blend of mostly fresh and a small percentage of genuinely old material, and that old fraction punches above its weight in terms of flavor impact.
Lighter roasts tend to be more volatile and show retention-related degradation faster. Darker roasts, being more porous and higher in surface oils, physically stick more aggressively to burr surfaces and are harder to flush clean. Neither roast level is immune.
Single Dosing vs. Hopper Grinding
The cleanest solution to the retention problem, before we even talk about cleaning routines, is workflow. Single dosing, the practice of loading exactly the dose you need directly into the grinder rather than keeping a full hopper, dramatically reduces how much stale coffee is sitting in contact with your burrs between uses. If you grind 18 grams for a double shot, load 18 grams, grind it, and your grinder is empty until next time. Retention still exists, but you're not compounding it with a hopper full of beans slowly going stale all day.
Hopper grinding is faster and more convenient, and for a high-volume commercial setting it makes sense. For a home barista pulling one or two doses a day, it's a retention and staling problem waiting to accumulate. If you're currently keeping your hopper loaded, consider switching to single dosing. The improvement in cup clarity is often more noticeable than a burr upgrade.
How to Actually Clean Your Grinder
There are two levels of cleaning that matter: routine maintenance and deep cleaning. Most people never do the latter, and do the former poorly or not at all.
For routine maintenance, every one to two weeks depending on usage, you should:
- Remove the hopper and wipe it clean with a dry or slightly damp cloth. Do not use soap on surfaces that contact beans unless you can fully dry them.
- Run a small amount of rice or a purpose-made grinder cleaning tablet like Urnex Grindz through the grinder. These absorb oils and knock loose packed coffee from the burr faces and chamber walls.
- Follow the cleaning tablets with a small sacrificial dose of your actual coffee, around 5 to 8 grams, to purge any residual cleaning tablet material before your real grind. Discard this output.
- Wipe down the exit chute and any accessible surfaces with a dry pastry brush or a dedicated grinder brush.
For a deep clean, which should happen every one to three months for a home grinder used daily, you need to disassemble the burr set. This sounds intimidating but is usually straightforward. Most flat burr grinders and conical grinders have a top burr that can be removed with a quarter turn or a few screws. Consult your specific grinder's manual because reassembly sequence matters, particularly for grinders where the upper burr position affects your grind setting calibration.
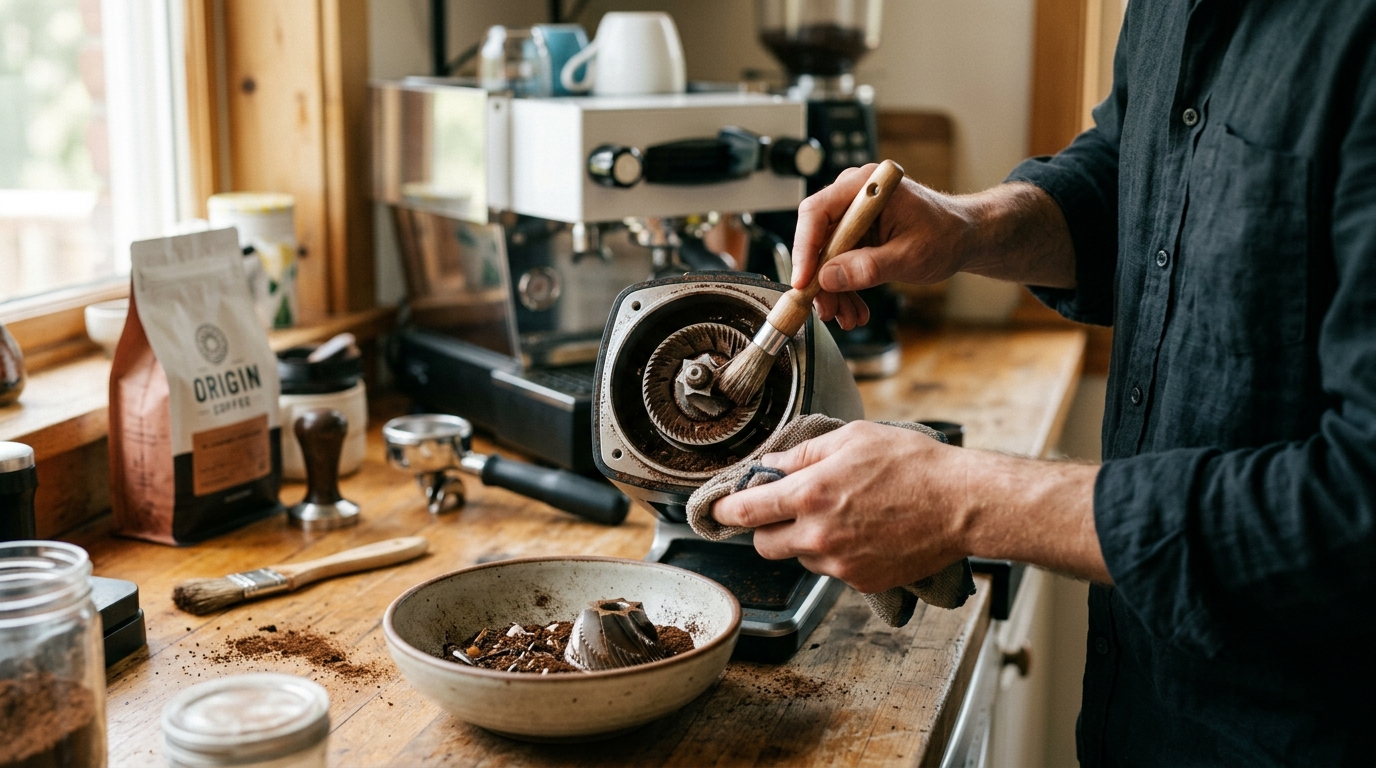
Once the burrs are out, use a stiff-bristled brush, a toothbrush works fine, to scrub the burr faces under the teeth. You're dislodging compacted coffee fines and oxidized oil residue. Do not use water on steel burrs unless you can dry them completely and immediately. Rust on burr edges will affect grind quality and introduce metallic notes into your coffee. If you have a ceramic burr set, you have slightly more latitude with moisture, but the same caution applies. Some people use a dry microfiber cloth with a tiny amount of food-grade oil like mineral oil to wipe burr faces after cleaning, which can help prevent the next round of buildup, but this is optional.
While the burrs are out, use your brush to clean the grinding chamber walls, the exit throat, and if accessible, the area behind and below the lower burr carrier. This is where significant fines accumulation happens and where the most oxidized material tends to concentrate.
The Grind Setting Reset Problem
One thing worth knowing before you do a deep clean: disassembling your burr set will likely reset or shift your grind setting. Most grinders don't have a hard mechanical reference point that survives burr removal, so you'll need to re-dial in your grind after reassembly. This isn't a reason to avoid cleaning. It's just reality. The performance improvement from clean burrs more than justifies the 10 minutes of re-dialing. Take note of your current grind setting before disassembly, and use it as a rough starting point, knowing you may need to adjust by a few steps in either direction.
Putting It Together
Retention and cleanliness are related but distinct problems. Retention is about workflow and grinder design. Cleanliness is about maintenance discipline. Both affect cup quality in ways that are easy to miss until you actually fix them and taste the difference side by side. If you've been chasing a flatter or more confused espresso flavor and your technique and coffee sourcing are solid, spend an afternoon on your grinder before buying anything new.
I built grindset.cafe partly because I kept forgetting when I'd last cleaned my grinder, and partly because tracking shot data becomes meaningless noise if your equipment isn't in a consistent, known state. Cleaning schedules are a small part of what the app helps you keep track of, but they're not a small part of what makes espresso taste the way it should.