**From Chaos to Craft: How to Set Up a Home Espresso Bar That Fits Your Morning Routine (And Gets Used Every Day)**
By the Grindset team · May 10, 2026 · 7 min read
The Setup Most People Get Wrong
The average home espresso bar follows a predictable failure pattern. Someone spends a significant amount of money on a machine, a grinder, and a collection of accessories, arranges everything excitedly on the counter, pulls a few shots, and then slowly stops using it. Within six months the machine is collecting dust next to the air fryer. The problem is almost never the equipment. It is the setup. A home espresso bar that requires fifteen steps before coffee, that leaves grounds everywhere, or that makes you hunt for tools every morning will not survive contact with a Tuesday at 6:45 a.m.
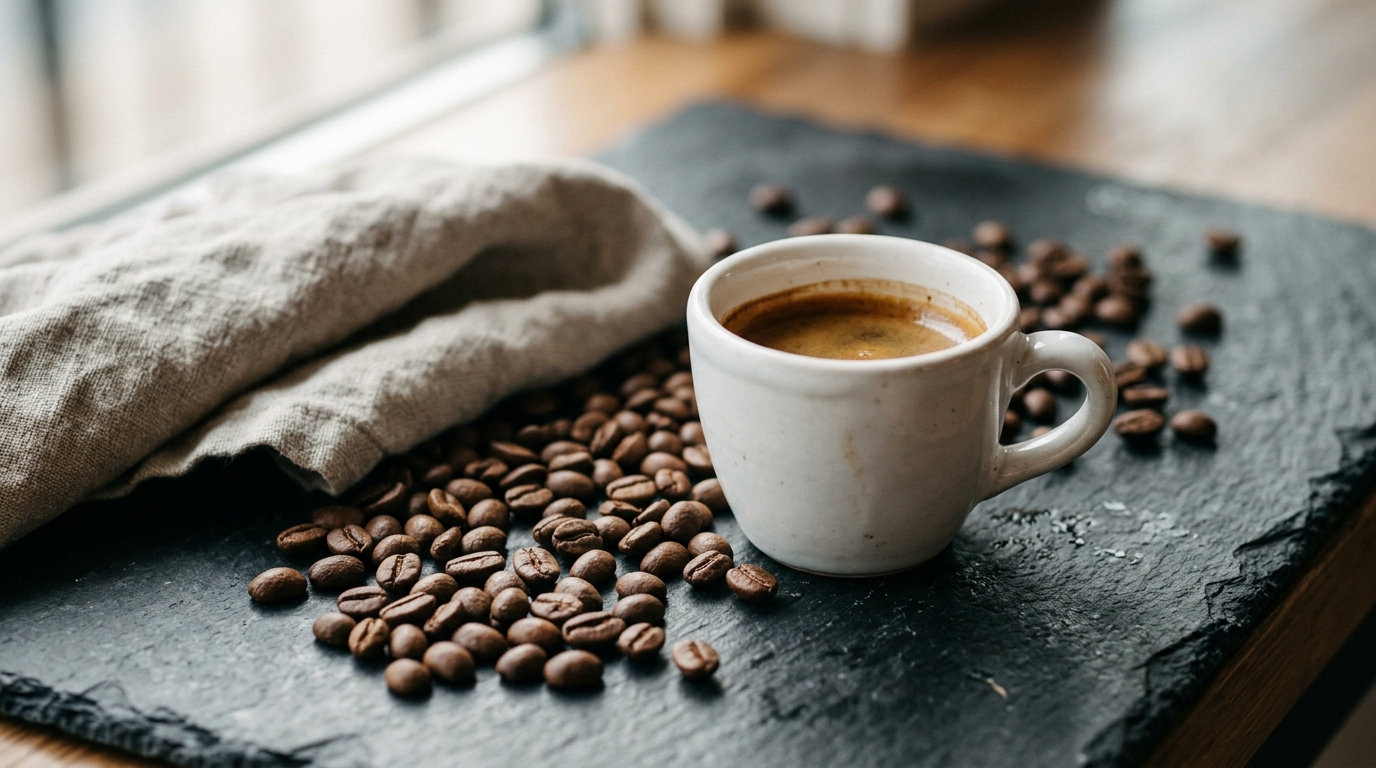
What separates a station that gets used every single day from one that becomes a monument to good intentions is friction. Every unnecessary movement, every thing you have to hunt for, every surface that is difficult to clean adds friction. Good bar design is really just friction reduction applied to a small counter space. This post is about how to think through that setup systematically, from the physical layout to workflow sequencing to the small decisions that pay dividends over thousands of mornings.
Start With Your Counter Space Before You Buy Anything Else
Measure your available counter space before making any purchasing decisions. A capable espresso machine like the Breville Barista Express occupies roughly 13 by 12 inches of footprint. A separate grinder, even a compact one like the Baratza Sette 270, adds another 6 by 6 inches minimum. You also need clearance above the machine for a steam wand, which often requires 15 to 17 inches of vertical space. Run those numbers against your cabinets before you commit to any configuration.
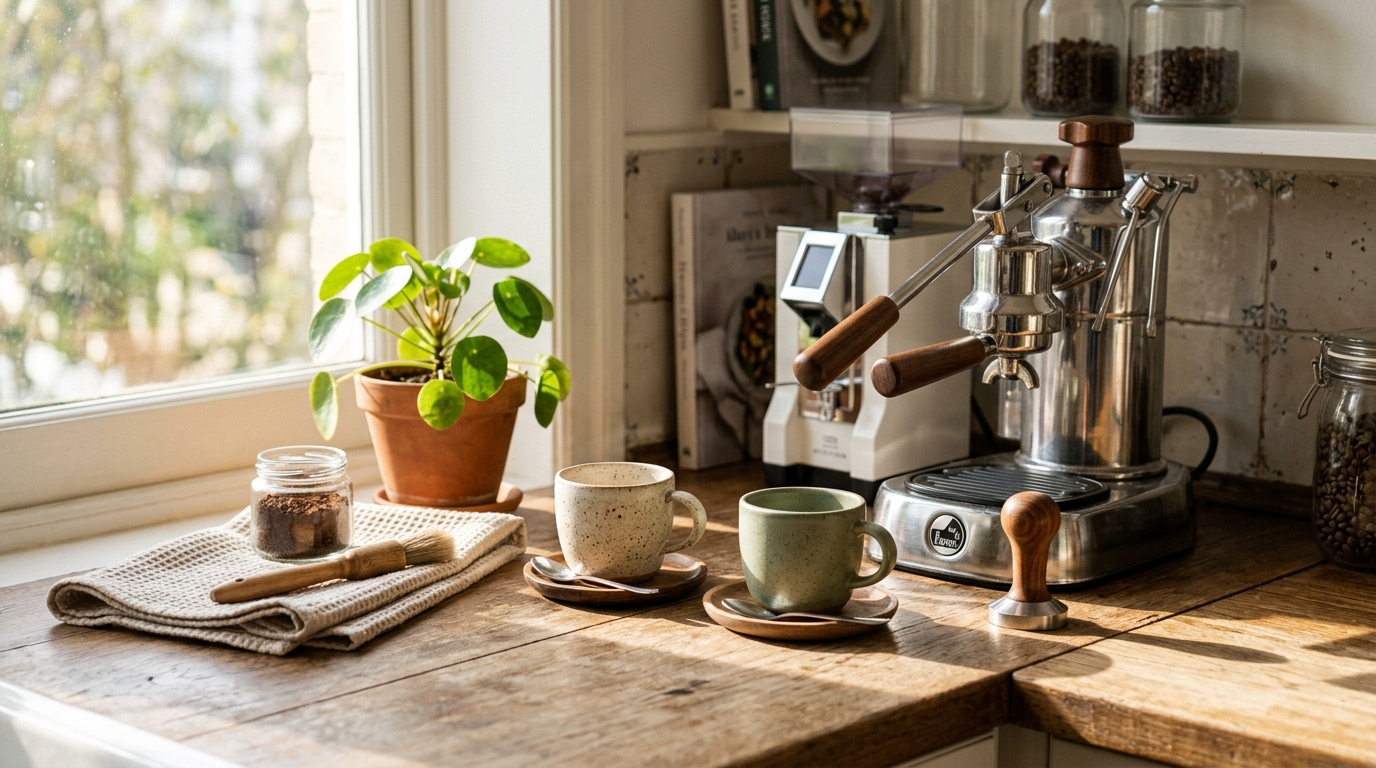
The layout should follow your physical workflow left to right, or right to left depending on your dominant hand. Beans and grinder go on one end. The machine sits in the middle, close to a power outlet and ideally near a water source if you are plumbing it in. A dedicated knock box and tamping mat go on the other side, along with a small tray for your portafilter and accessories. When everything is sequenced in the order you actually use it, you stop reaching across yourself and stop putting tools down in the wrong place out of habit.
The Equipment Tier That Actually Makes Sense
There is a clear performance threshold in home espresso equipment, and it sits around the $500 to $800 range for a machine and $200 to $400 for a grinder. Below that threshold, you are fighting equipment limitations more than developing skill. Above it, you get genuine control over brew temperature, pressure, and extraction parameters. The most important decision most people underweight is the grinder. A mediocre grinder paired with a good machine will produce inconsistent, muddy espresso. A capable grinder paired with a mid-tier machine will produce dramatically better results.
For a machine, the Rancilio Silvia, the Breville Barista Pro, and the ECM Classika are all solid entry points into machines with adequate thermal stability and enough pressure consistency to learn on. For grinders, the Niche Zero, the Baratza Sette 270Wi, and the DF64 have all earned their reputations through reproducibility, which is the quality that matters most when you are dialing in. Reproducibility means that 18 grams at grind setting 4 today produces the same particle distribution as 18 grams at grind setting 4 tomorrow. Without that, you are not learning from your adjustments.
Workflow: Think in Sequences, Not Individual Steps
The morning espresso routine should run as a single fluid sequence rather than a series of decisions. This means setting up as much as possible the night before. Wipe your portafilter basket clean, set your dose weight on a scale, and make sure your grinder is on the correct setting from your last successful shot. In the morning, all you should need to do is flip the machine on, let it heat to operating temperature (usually 20 to 30 minutes for a single boiler, 10 to 15 for a heat exchanger), grind, dose, distribute, tamp, and pull.
Standardize your numbers and write them down somewhere visible until they are muscle memory. If your dialed-in recipe is 18 grams in, 36 grams out, in 28 to 32 seconds at 200 degrees Fahrenheit (93 degrees Celsius), put that on an index card taped inside a cabinet door. Having to remember your recipe adds a small cognitive load every morning, and cognitive load is a form of friction. The goal is to make the routine feel automatic so that your attention can go toward the sensory feedback, the sound of the grind, the color of the extraction, the resistance of the tamp, rather than toward remembering procedural details.
The Accessories That Are Worth the Counter Space
Not every accessory earns its square footage. Some do. A quality tamping mat protects your counter and gives you a stable surface, which directly affects tamp consistency. A WDT tool (Weiss Distribution Technique tool) dramatically reduces channeling caused by clumped grounds in the basket, and it takes up almost no space. A decent scale with 0.1 gram resolution and a fast response time is non-negotiable if you care about shot-to-shot consistency. The Acaia Lunar is excellent but expensive; the Timemore Black Mirror and the Felicita Arc are both capable at a lower price.
- A tamping mat with a portafilter holder keeps your workflow anchored to one spot
- A WDT tool (bent needles in a cork work fine) addresses clumping before it causes channeling
- A scale with 0.1g resolution and a fast display update rate for accurate output measurement
- A dedicated knock box positioned where your hand naturally moves after a pull
- A small pitcher rinse cup next to the steam wand if you make milk drinks
What you do not need: a second tamper that looks nicer than your first one, a distribution tool when a WDT achieves the same result more thoroughly, or a fancy knock box when a container lined with a dishcloth works identically. Buy the accessories that solve a real workflow problem, not the ones that photograph well on Instagram.
Cleaning Has to Be Part of the Design
A setup that is hard to clean will eventually stop being cleaned, and a dirty espresso bar produces bad espresso. Coffee oils oxidize and turn rancid, introducing bitter, astringent flavors that no amount of good technique can compensate for. Design your station so that cleaning is the path of least resistance. Keep a damp microfiber cloth folded next to the machine. Position your grounds bin where it is easy to empty. Run a backflush through your portafilter with water (no chemicals needed for a daily rinse) at the end of each session.
Weekly, soak your portafilter basket in a small container of Cafiza or similar espresso machine cleaner at a ratio of about 1 gram per 100 milliliters of water for 20 to 30 minutes. Monthly, descale your machine according to the manufacturer's recommendation using citric acid or a commercial descaler. These are not optional maintenance tasks. Limescale buildup reduces heating element efficiency and alters brew temperature consistency in ways that show up directly in your cup.
Making It Yours Without Overcomplicating It
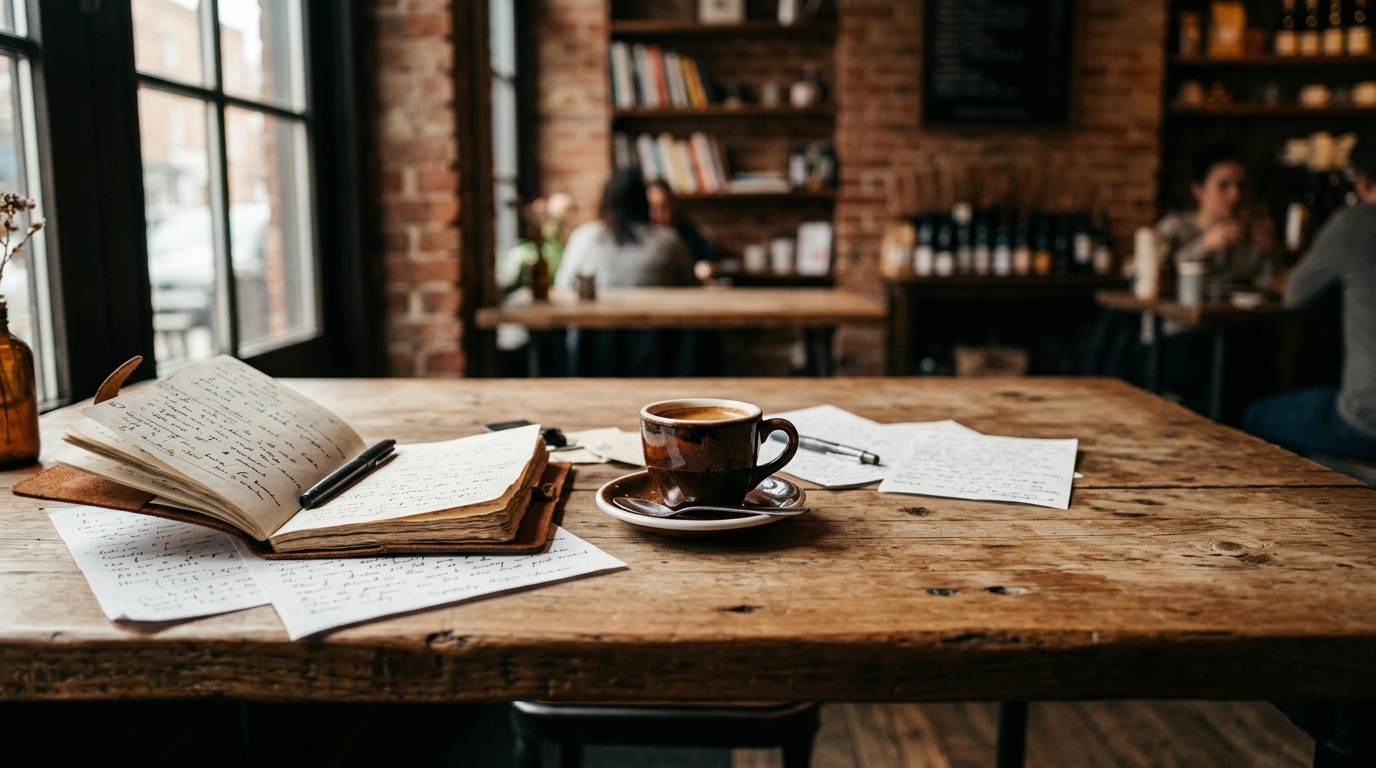
Once you have a functional station with a clean workflow and equipment you understand, the room for personalization opens up naturally. Maybe that means keeping a small notebook next to the scale to log shot parameters and tasting notes. Maybe it means investing in a better portafilter basket like the IMS or VST precision baskets, which have tighter hole tolerances and more even distribution than most stock baskets. Maybe it just means finding a bean subscription that keeps you stocked with fresh roasted coffee without having to think about it.
I track my shot data in grindset.cafe, which makes it easier to spot patterns across different beans, grind settings, and temperatures without keeping a messy paper log. However you track it, the habit of recording what you did and what resulted is what separates someone who pulls shots from someone who is actually learning espresso. A well